Connect our free VPN
A VPN guarantees security when using messenger on multiple devices or from many accounts. All Inflact modules that require a VPN before authorization to your IG profile. Go to the detailed VPN settings in your Inflact personal account (the VPN tab) or save this PDF with instructions. If you need more details about how the VPN works with automation, read the blog article.
Go through the authorization
In order to start working in the Direct Module, you can connect one or more accounts. Connecting multiple accounts is a convenient opportunity to run correspondence in several profiles at once, from one dashboard.
For example, you can have a business account and a personal account where people write to you. So instead of constantly switching between profiles in the application, you can use one product. For authorization, you will need an up-to-date Instagram login and a password. If you have any problems with authorization, you can contact our support service 24/7.
Direct automation functions overview
After successful authorization, go to the Direct tab in your Inflact account.
Here you will see four tabs.
#1 Overview
In this tab, you see all the messenger features – Direct messenger (online DM chat), Bulk messaging, and Auto-replies.
#2 Board
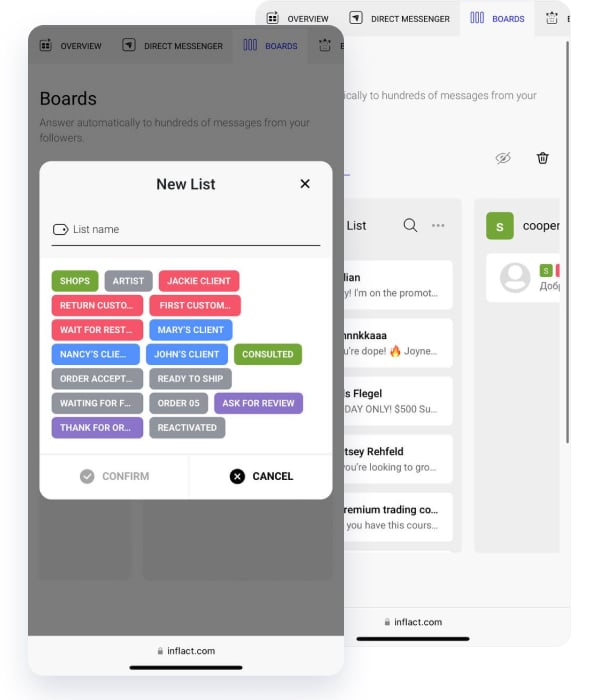
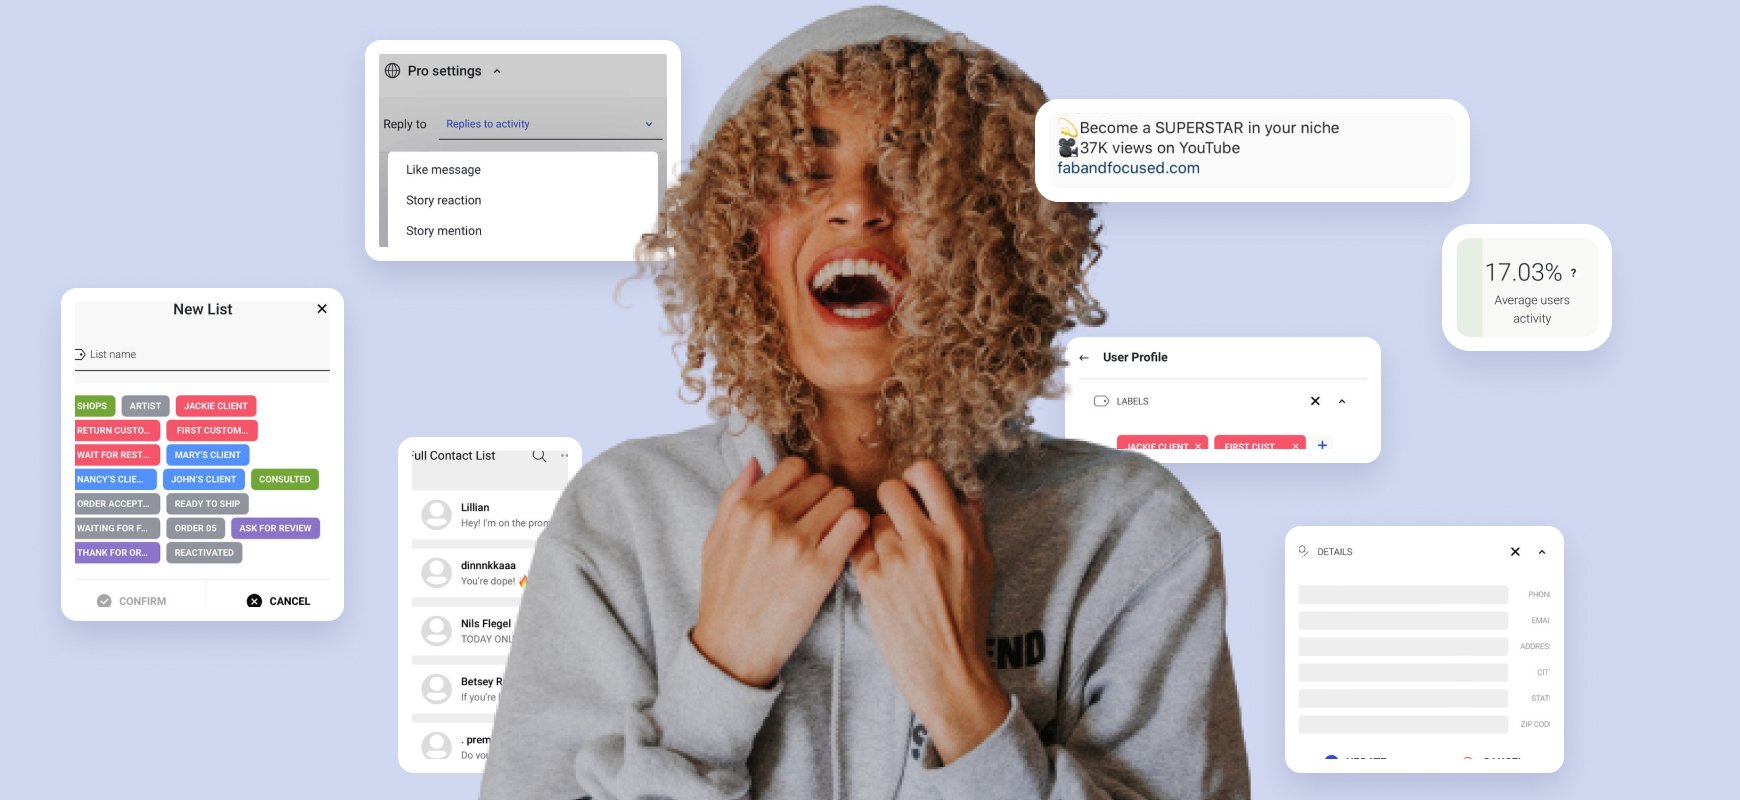
These are Kanban-like boards that help you categorize chatrooms with labels. You can add different audience groups to different boards and transfer them from one board to another.
#3 Bulk messaging
This tab allows you to set up a mass mailing to all Instagram followers. There is an opportunity to use variables. That is, your messages can be made different for different users. To do this, you need to insert word variations into the text field. After that, set up targeting by recipients.
#4 Auto-replies
Auto-replies will help you set up and run message campaigns. You can save a Welcome Message, a Reply to First Message, and Reply to Keyword.
Systematize chats in Direct messenger
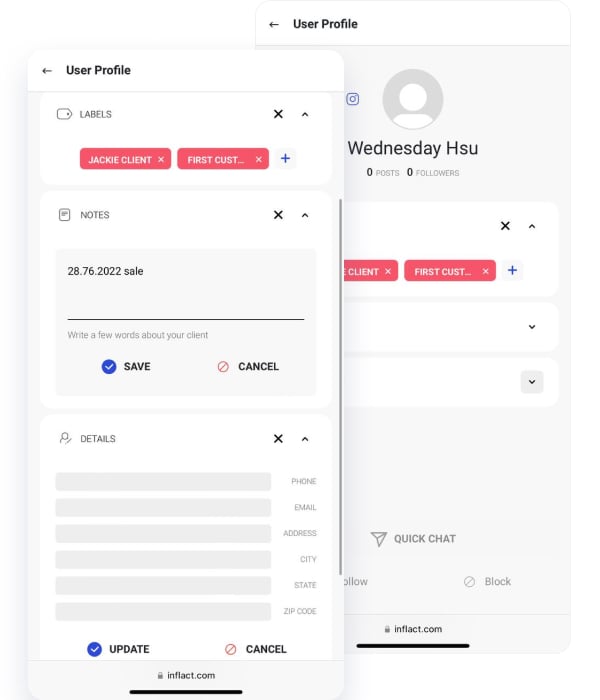
In Direct Chat, you can first assign appropriate labels to your clients.
- How to add labels. Open a chat with the user. On the right side of the screen, you will see the User profile Labels Add label section.
- Fill out a personal card. You can enter in the Details field:
- Phone
- Address
- City
- State
- Zip code
Further, in these fields, you can search for people through the built-in search in the chat.
- Notes field. Here you can make notes about each person. For example, what they ordered and on what day, when you need to follow up with them, and what they were interested in. By using keywords from this section, you can search for chats in the search.
After assigning labels, you can sort chats by Boards and Lists.
Each Board will be visible in a new section. To add a Board, click on +New Board.
You can add Sheets to each board. For example, you can create a separate Board for clients, bloggers, and other audiences.
You can then create sheets based on labels. That is, when assigning a label to a contact, it will appear in the related List after creation.
In the end, your chats, clients, and tasks will be conveniently sorted. If you have multiple salespeople in your store, you can create a board for each, and they will see Sheets with customer groups.
Read the article about labels.
Set auto-replies
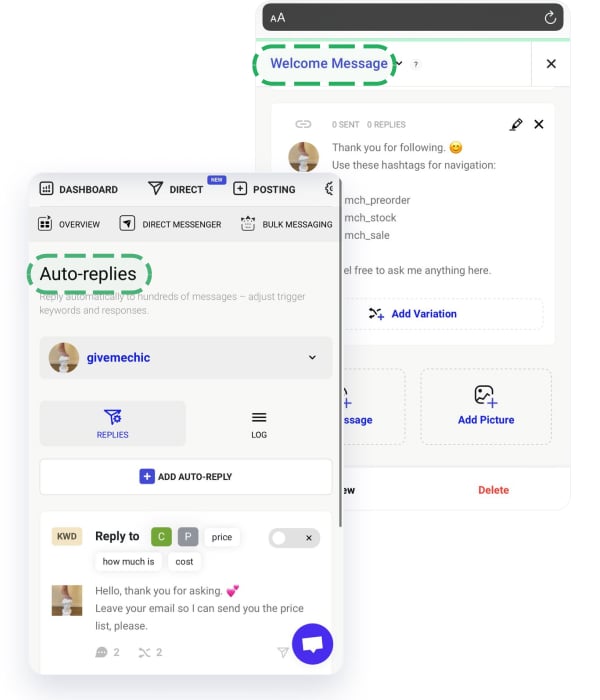
Open the Auto-replies section. Press the +ADD AUTO-REPLY button.
You can create a Welcome Message, Reply to First Message, and Reply to Keyword.
Next, we will take a closer look at how each automatic option works.
How to set a Welcome Message
A Welcome Message will be sent to every new follower. It’s good to write about discounts, exclusive content, or an event here – anything that will help start a dialogue with a new follower.
- In the Auto-replies section, select Welcome Message.
- Insert text. Do not use links in the body of the message.
- Attach a picture if needed.
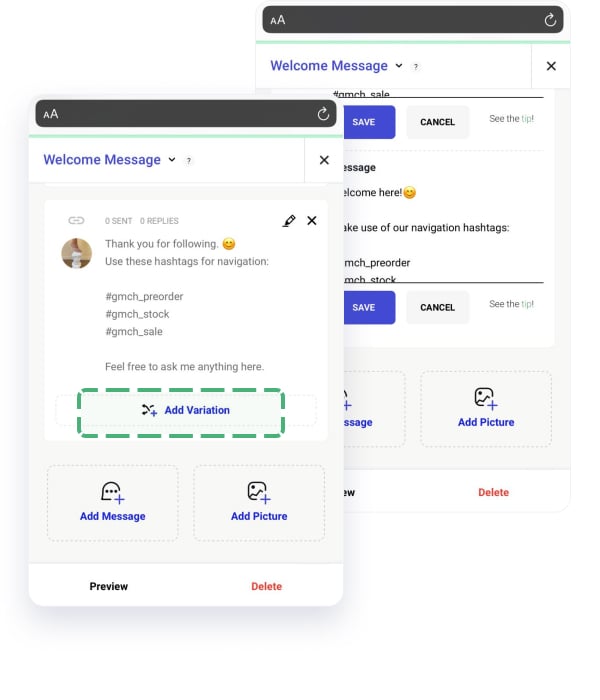
- Add alternate versions. Click on Add Variation and paste the text with the changes. Followers will receive different versions.
For example:
Write about how you can help or solve problems.
CTA. Encourage a new follower to visit your website / ask questions / take other actions.
Close your message with your motto or wish them a beautiful day.
Reply to First Message
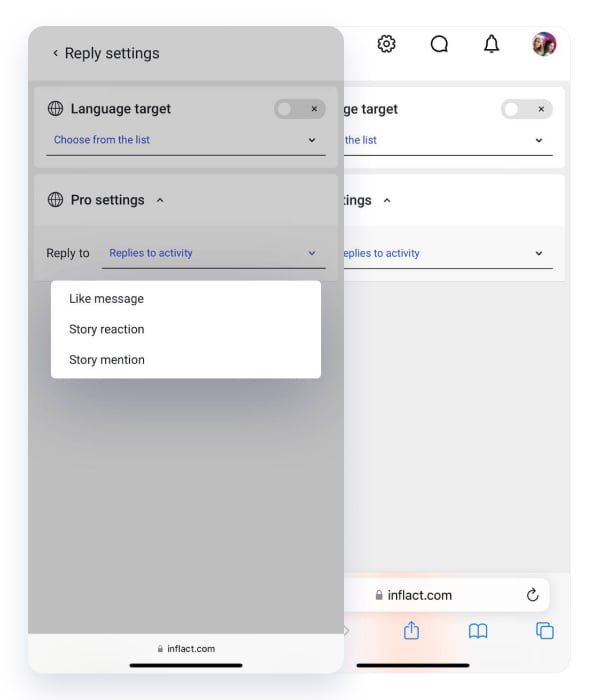
You can select this option to send a message to everyone who writes to you first. Or at this point, you can automate responses to reactions.
- Click on Settings Pro settings Like message / Story reaction / Story mention
- Insert the text that you want to send in response to a message or reaction.
- You can click on Preview. Save, and the message will start working.
Reply to Keyword
This auto-reply will be sent based on the keywords you receive in your inbox. For example, clients may often use the word “price” in DMs, or “size” or “delivery.”
You can prepare automatic responses to these trigger words and include their synonyms as well.
Add message text and variations. You can attach a picture.
Language target
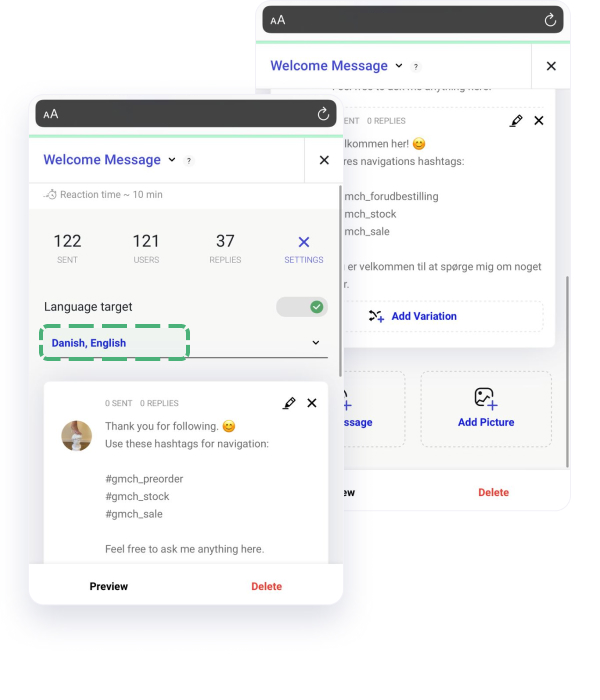
The “Language target” option works in auto-replies. It means that you can insert auto-reply text in different languages. The desired response will be sent based on the profile language of the sender.
For example, if they write to you in Spanish, then the auto-replay will come from those saved in Spanish.
Read our detailed DM automation guide with tons of sample messages for every stage of your pipeline. Link to the guide.
What is the Log?
In the Log section, you can find the history of auto-replies sent through the software. The Log section has filters to search for specific answers. You can filter by status, date, post type, and more.
Set bulk messages
Go to Bulk messaging New message section.
You can send bulk messages to:
- all followers
- active threads
Paste your message text and upload an image.
How to do string randomization
You need to create versions of a message where the words will change without changing the meaning. For example, someone will receive the phrase “Hello, how are you?” and someone “Hey, what’s up?”
To do this, you need to put the options separated by | in brackets {}.
In the Custom filter section, you can select detailed settings for bulk mailing recipients.
Read the comprehensive guide on How to sell on Instagram with DM for brands and influencers.
